How to Make THC Cartridges
Enough of buds, it’s time to get your cannabis concentrate into THC cartridges. Cartridges come in different sizes and quality but using a low-quality cartridge gives you a lackluster experience. Sometimes, you need a new method to upgrade yourself and carry your weed on the go. Other times, it is just for a change, so there is nothing wrong if you decide to learn how to make THC cartridges.
The best part is that you get more value and your little friend gets to last longer than usual. You cannot compare smoking bud with this method. So let’s get started with the things you will need to make it work.
- 1 gram or a few grams of high-quality cannabis concentrate
- Glass jars
- Strainer
- Oven
- Pot
- Thermometer
- Dropper bottles
- Baking sheet
- Aluminium foil
Steps to Making THC Cartridges
Now that you have all the ingredients and tools in place, you are fully prepared to begin the process. Follow these steps on how to make THC cartridges and get it ready for vaping.
1. Decarboxylation
This step is important if you do not have cannabis concentrate already. First, grind the weed and pour onto a baking sheet using the aluminium foil. Next, put the material in an oven and set it at 225 degrees and leave it for 15 or 30 minutes. Wait until a vapor forms before you turn off the oven.
2. Alcohol Bath
Of course, it is not necessary to follow this step if you are using a cannabis concentrate. But remember to avoid rubbing alcohol because the higher the amount of alcohol, the faster the evaporation.
- Take out the jars from the freezer and put them close by. The coldness of the jars will keep unwanted fats and lipids from getting into your cannabinoids.
- Pull out the baked material and put them in a mason jar filled with crispy and dry weed flakes. This gets them ready for a good alcohol bath.
- Pour enough liquor into the mason and make sure all the buds are fully submerged. Next, gently rock the content of the jar from side to side, making sure you don’t move it too up or too vigorously in an up and down movement.
- Put the jar back into the freezer and wait for a minute or two. Do not exceed the required number of minutes as every step is essential to creating a high-quality finished product.
- Find a second jar and cover it with a cheesecloth, then sieve the mixture through. When you get to the last part, squeeze the cheesecloth to get final drops of oil.
3. Evaporation of Alcohol
- Bring out your pot and fill it with 4 inches of clean water. Then place the mason jar in the pot and let it be for an hour or a little more than that. The result will be a cannabis concentrate.
- When all the alcohol has evaporated and there is none left after this, add 2mg of terpenes or thinning agents such as PEG/VG/PG to the mixture. Make sure you first test them to ascertain the quantity that will be enough and best. You don’t want the mix to your throat and lungs so harsh and strong.
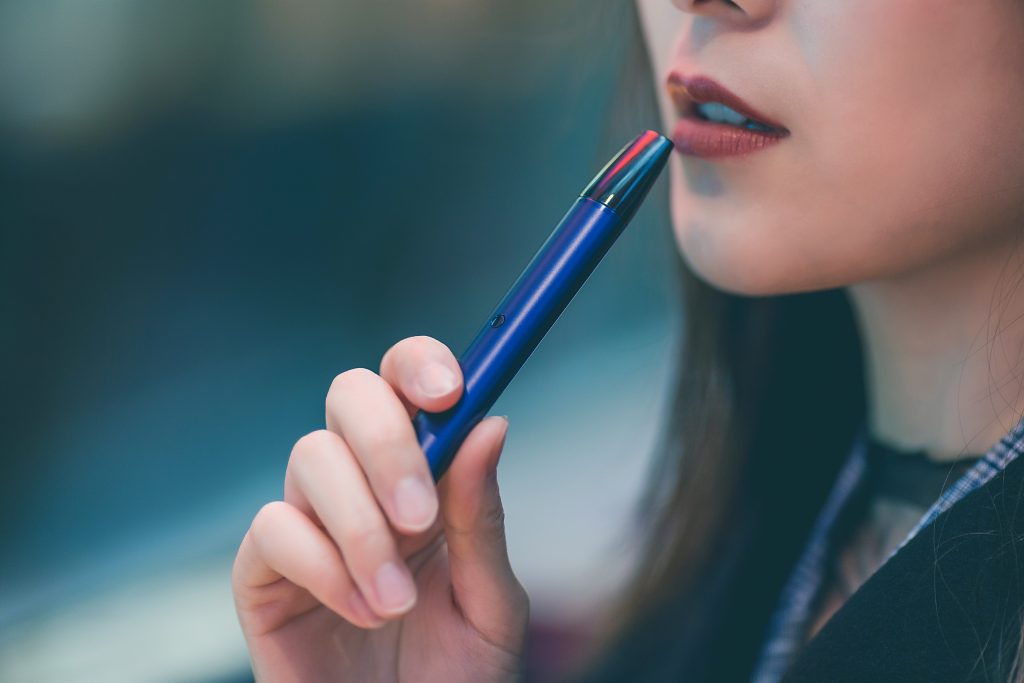
- Use a syringe to transfer the oil into your THC cartridges and get set for a whole new adventure.
4. Precautions
Make sure you don’t strike a match or create an open flame. A little fire can set the entire place ablaze and that would be a costly mistake. Once you are through with this process,, you can fill your cartridges. If you wish, you may add a particular flavor of your choice to mask the smell. It’s good to keep in mind that not everyone likes the smell of cannabis, so you need to enjoy it without drawing too much attention to yourself.
Final Hit
Now that you know how to make THC cartridges, you can’t wait to get started. Homemade cannabis oil put in cartridges can give you more than just a taste of your own product. You equally experience that sense of pride that comes with accomplishing something important. With all the ingredients and equipment available on the spot, you can make your own THC cartridges and add any flavor of your choice. You can check terpenes for sale.